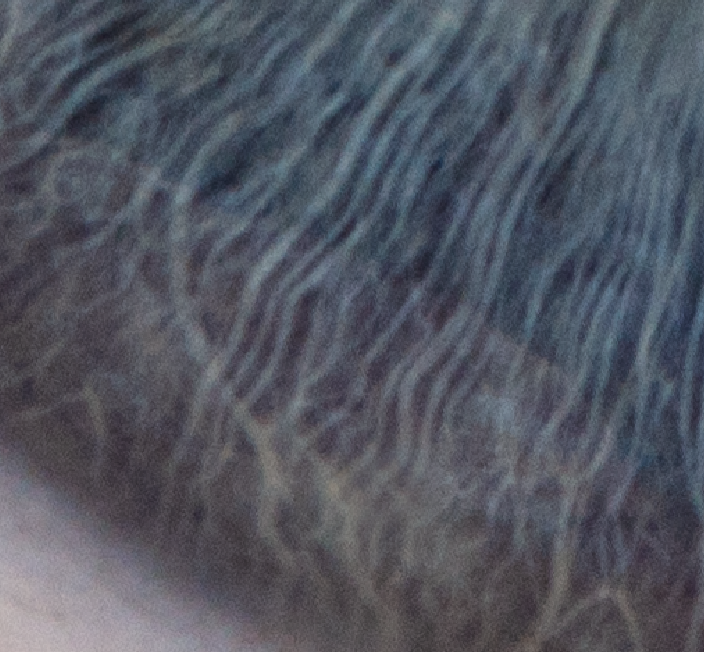
Das Ausgangsmaterial ist entscheidend. Ist das Foto gut aufgenommen, muss in der Nachbearbeitung nur wenig korrigiert werden.
Die Iris muss vollständig sichtbar sein.
Die fotografierte Person kann helfen, indem sie das Auge vorsichtig mit den Fingern öffnet.
Achte auf störende Reflexionen durch Finger oder Lichtquellen.
The quality of the original photo is crucial. If the image is well taken, minimal editing is needed.
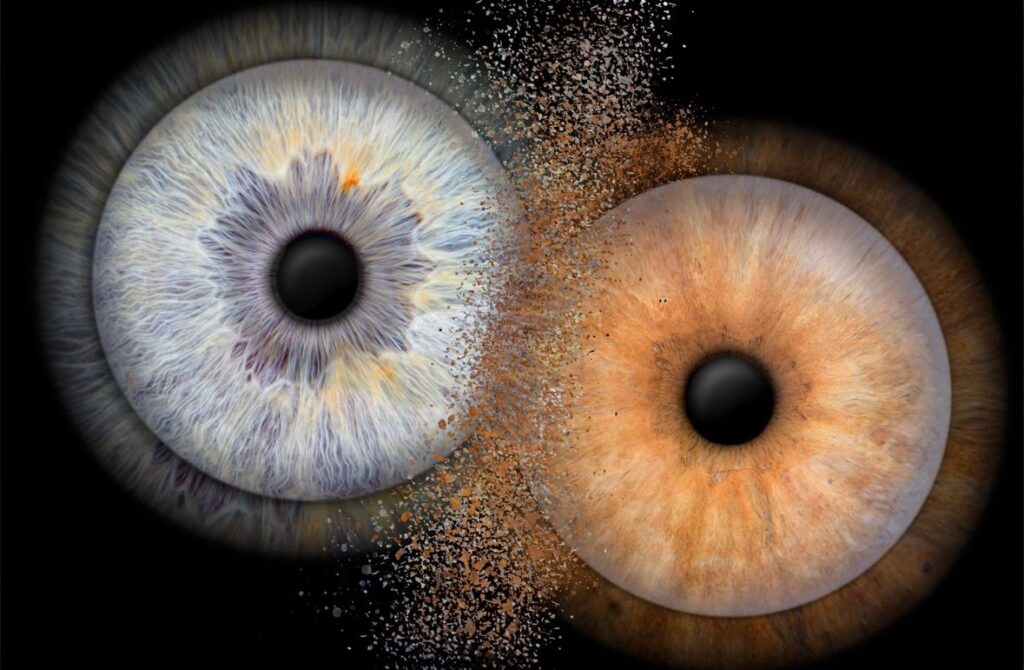
The entire iris must be clearly visible.
The subject can gently assist by holding their eyelids open with their fingers.
Be careful of reflections caused by fingers or lighting.
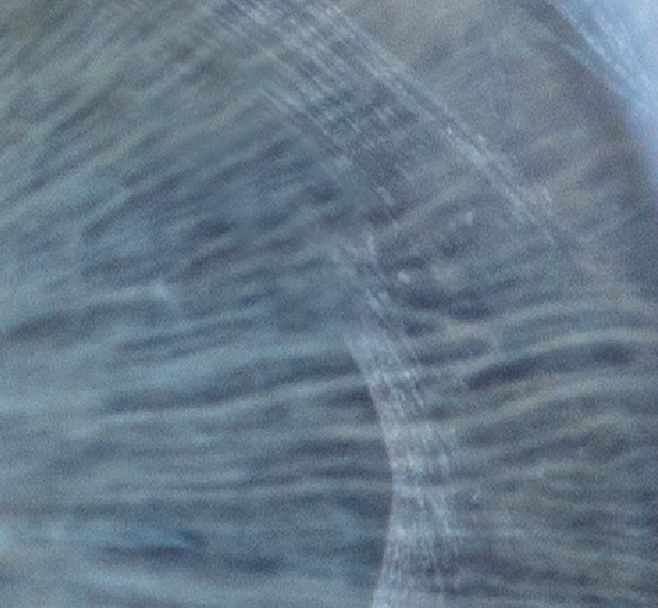
Dauerlicht kann zugeschaltet werden, um die Iris durch Pupillenverengung besser sichtbar zu machen.
Von jedem Auge sollten mindestens zwei Fotos gemacht werden:
Einmal mit rechter und einmal mit linker Blitzseite.
Blitzseite wird durch „A“ oder „B“ in der Kamera angezeigt:
„A“ oder „B“ = nur eine Seite aktiv.
„AB“ = beide Seiten gleichzeitig.
Kamera sollte beim Fokussieren ein akustisches Signal (Piepton) geben – darauf achten.
You can turn on the continuous light to reduce pupil size and reveal more of the iris.
Take at least two photos per eye:
One with the right flash side, one with the left.
Flash side is shown on the camera display:
“A” or “B” = only one side active.
“AB” = both sides active.
Make sure the camera beeps to confirm focus.
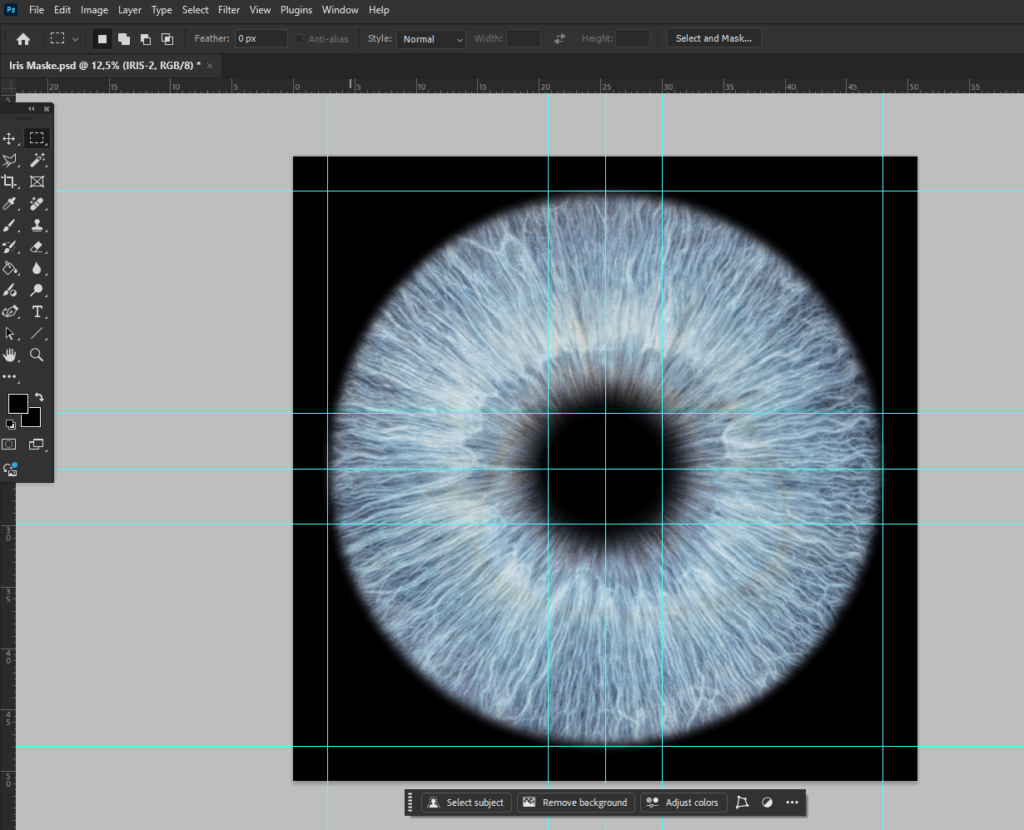
Die Iris wird vorbearbeitet in:
Schärfe
Helligkeit
Kontrast
Farbintensität
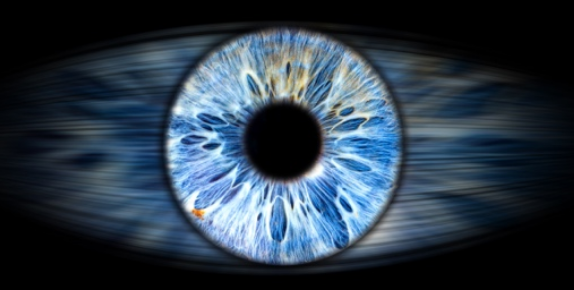
Ziel: möglichst klare, natürliche Darstellung der Iris.
Adjust the iris for:
Sharpness
Brightness
Contrast
Color intensity
Aim for a clear and natural representation of the iris.
Importiere das Bild aus Lightroom.
Entferne Reflexionen durch Finger oder Lichtquellen:
Nutze das Stempelwerkzeug oder das Bereichsreparatur-Werkzeug (Pflaster).
Achte auf natürliche Übergänge – nicht überkorrigieren.
Schwierige Bereiche können durch Kopieren von Segmenten der anderen Irisseite ersetzt werden.
Import the image from Lightroom.
Remove reflections from fingers or lighting:
Use the Clone Stamp Tool or the Spot Healing Brush Tool.
Apply tools carefully to avoid unnatural effects.
Problematic areas can be replaced by copying parts of the opposite side of the iris.
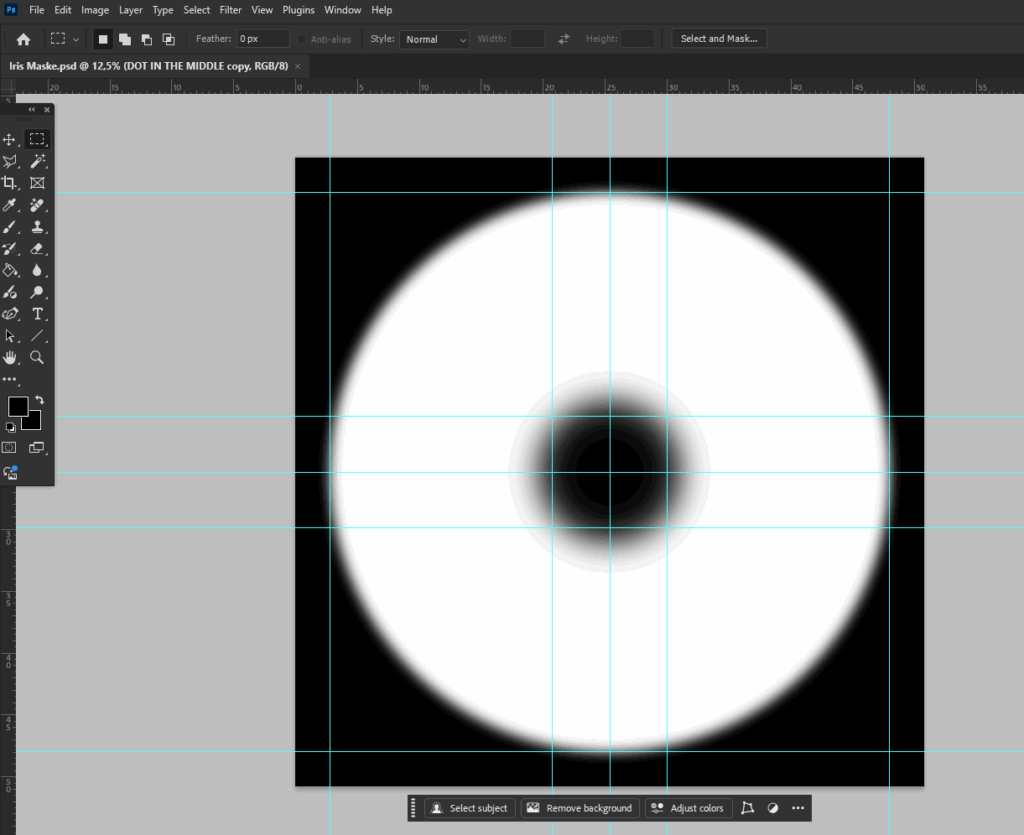
Das bearbeitete Auge wird in die entsprechende Maskenvorlage eingefügt.
Format: JPG oder PSD
Speichern in einem separaten Ordner.
Falls die Pupille zu groß erscheint:
Mithilfe des Werkzeugs „Verflüssigen“ vorsichtig verkleinern.
Nur dezente Änderungen vornehmen – natürliches Aussehen bewahren.
Insert the finished eye into the correct mask template.
Save the file as JPG or PSD in a separate folder.
If the pupil appears too large:
Use the Liquify Tool to reduce its size slightly.
Keep adjustments subtle for a natural look.
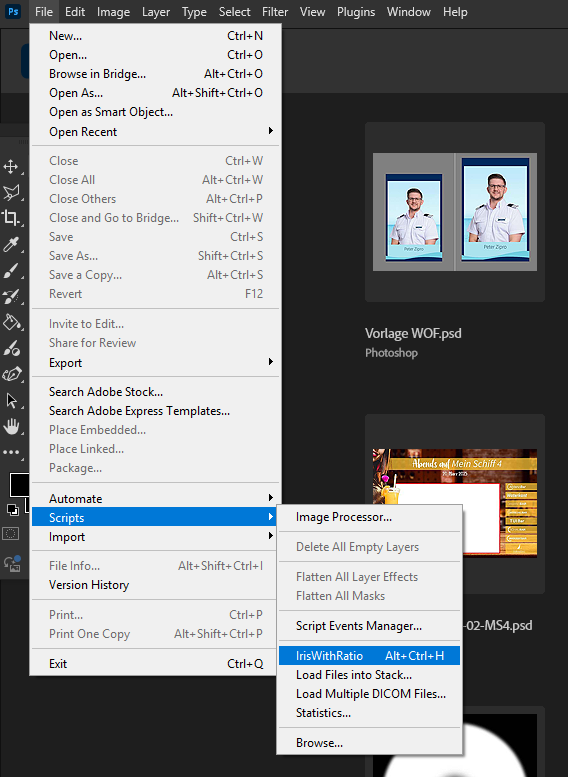
In Photoshop unter Datei → Skripte → „IrisWithRatio“ auswählen.
Zielordner mit bearbeiteten Iris-Dateien auswählen.
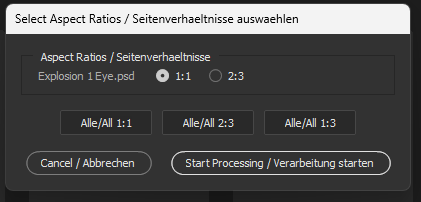
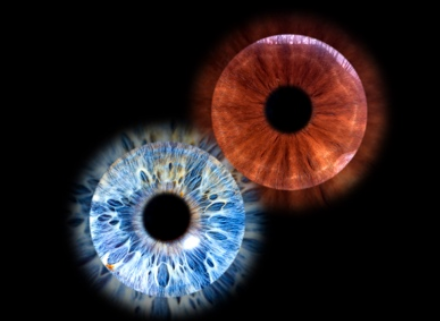
Nach Start des Prozesses erscheint die fertige Iris mit Effekt im Ordner „Ready“.
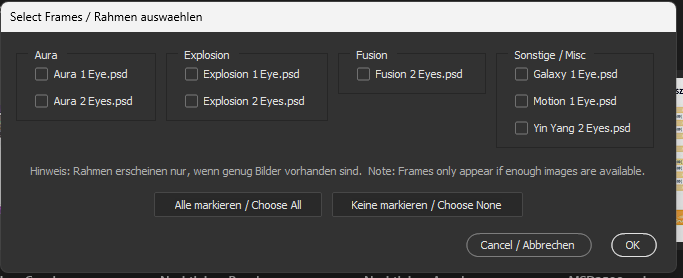
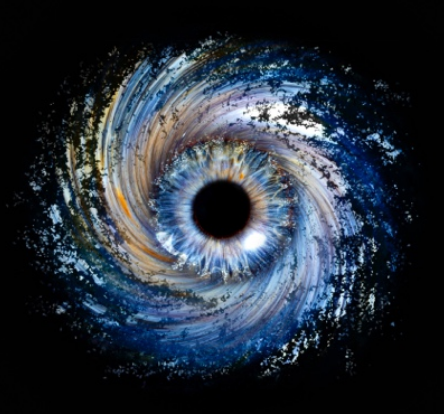
Die Software erkennt automatisch mögliche Effekte und stellt sie zur Auswahl.
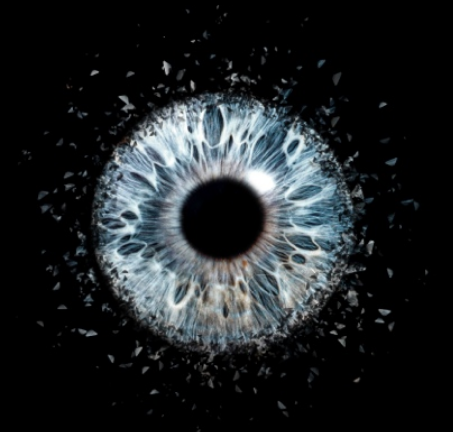
Standardbuchung: Iris Acryl – Effekt „Aura“.
Weitere Effekte können zusätzlich gebucht werden.
Die Eingabeaufforderung nicht schließen, nachdem der Effekt durchgelaufen ist.
In diesem Schritt werden die Exif-Daten geschrieben.
Unterbrechung kann zu Problemen beim späteren Upload in die Toolbox führen.
In Photoshop, go to File → Scripts → “IrisWithRatio”.
Select the folder with the finished iris images.
After clicking “Start Processing”, the edited iris will appear in the “Ready” folder.
Available effects are detected automatically by the system.
Default booking: Iris Acrylic – “Aura” effect.
Any additional effect must be booked separately.
Do not close the command window after processing finishes.
It writes the EXIF data in this step.
Interrupting may cause issues with uploading to the Toolbox.